The sunny warm weather is calling us outside. Whether you're gardening, fishing, hiking, mowing the lawn, picking up rocks, sitting on the porch, or drinking water, this is the weather our bodies were waiting for all winter. A wonderful time of year to spend time outside with friends and family, especially under a big shade tree. With beautiful weather comes also the season of events and celebrations.
What better way to celebrate a Bachelor's degree than with a delicious summer picnic?!


The Menu:
- sweet and spicy strawberry jalapeno salsa & chips
- relish tray with olives and pickles
- vegetable pasta salad
- oil and vinegar cucumber salad
- meatballs with beef from the family farm
- chocolate cake
- blueberry pie
 |
| For relish trays set up away from home and running water just put all the things in glass jars. This avoids dirty hands plating the food and allows for speedy clean-up when it's time to put the lids back on. |
Basic picnic supplies :
- apple crates and/or small tables for serving food
- fabric as table cloths
- ground blankets and quits
- plates, serving spoons, forks,
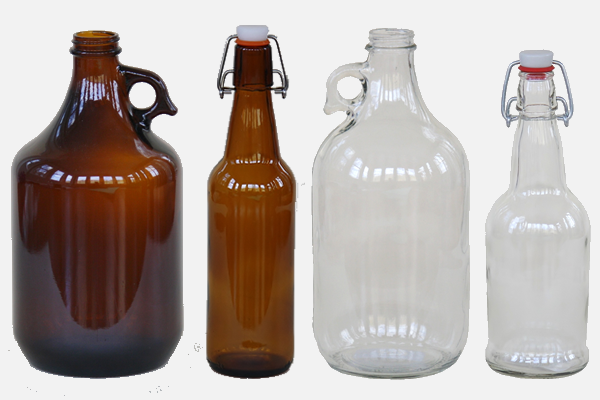
- two half-gallon milk bottles and lids
- 12-ounce glass milk bottles for beverage glasses
- small chalkboard for greetings
- coolers and picnic baskets for carrying your supplies anywhere (or out your back door)
- toothpicks
- simple decorations
We believe backyard picnics for your graduate or Independence Day cookouts are better with glass milk jars.
 |
| In 2014 we used our half pint glass milk bottle in a July 4th party. |
Old Fashioned Southern Lemonade
Makes: 1 GallonServes: 9-12 people
Ingredients:
- 2 bags of lemons (about 16)
- 2-3 cups of sugar
- 14 cups of water
Instructions:
- Peel and juice lemons (a juicer makes this very easy). Sit lemon juice aside.
- In a small pot over medium heat add sugar and 3 cups of water. Bring to a boil and immediately remove from heat just so the sugar dissolves.
- Add lemon juice, sugar water, and the remaining cold water to your glass bottle.
- Chill in the fridge until ready to serve

To decide how many bottles to buy - have a head count for your picnic ready. Tip: order the same style of milk bottles for all the drinking glasses. Our half gallon glass milk bottles are easy to pour and make handy pitchers for serving picnic beverages. Use the half gallon milk bottle carrier to carry half-gallons two at a time.
Available at Red Hill General Store in eight different shapes and sizes you'll find the perfect size milk jar for little 3-year-old Johnny and thirsty Aunt Claire who talks a lot. Order any milk bottle with a lid for storing or on-the-go adventures. Order online or come by our store to collect yours today.
Already have some of our milk bottles? Write a review at the bottom of our Glass Milk Bottle page. We love getting your feedback and stories. Please share.
Happy summer picnic-ing!